Strawberry Oatmeal Bars

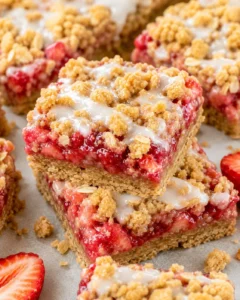
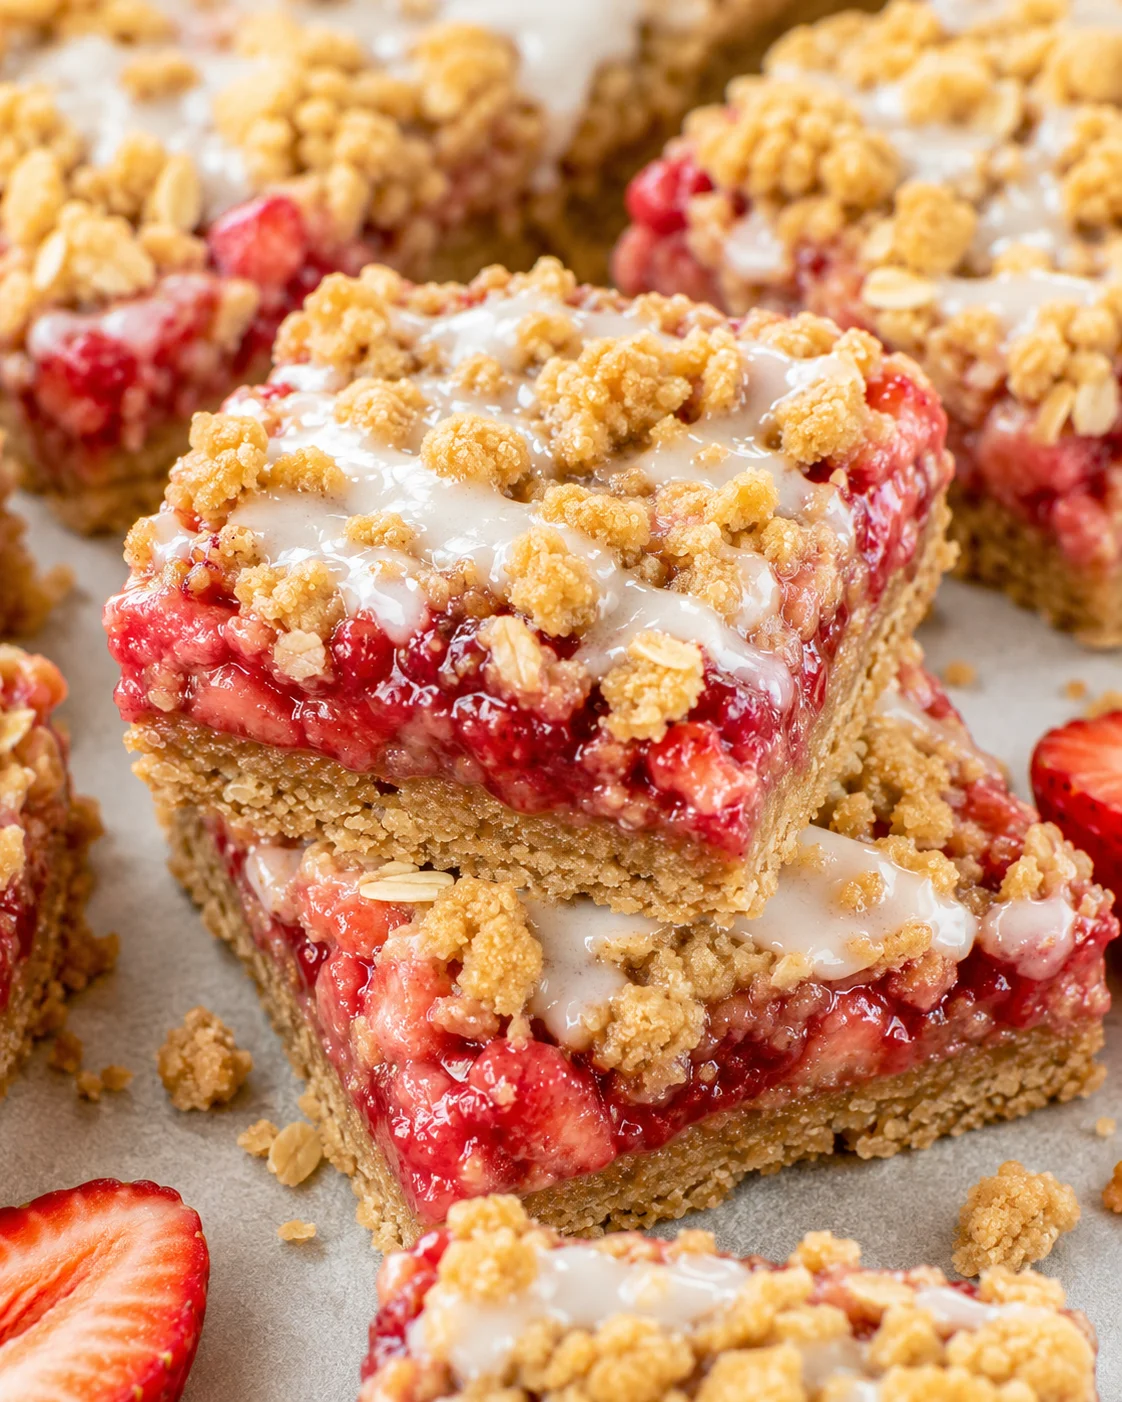 These strawberry oatmeal bars offer an easy, pantry-friendly way to enjoy bright, naturally sweet strawberries tucked between layers of buttery oat crumble. When baked, they come out chewy with a slightly crunchy top layer—perfect for breakfast time, snacks on the go, school lunchboxes, bake sales, or just a cozy weekend baking project.
They’re great for beginners and flexible too: you’ll find straightforward vegan and gluten-free options included here. The technique keeps the strawberry filling from turning runny, while helping the bars stay together nicely once chilled. Keep reading for the full ingredient list, clear instructions, expert tips for slicing clean bars, quick variations, and advice on storing and making these ahead, so you can bake with confidence every time.
- What you’ll get: ingredients with swap suggestions, detailed method, expert tips, variations, storage advice, and FAQs.
- Who these are for: home bakers wanting a wholesome, fruity bar that’s easy to tweak and kid-friendly.
Why You’ll Love These Bars
- They’re made with simple pantry staples and don’t need fancy tools—just like our Cereal Bars.
- Includes easy vegan and gluten-free swaps so everyone can enjoy them.
- Extra oat crumble topping for a nice texture—this recipe uses more topping than most.
- Chewy, never dry—fantastic for busy mornings, lunchboxes, bake sales, or family get-togethers. For another grab-and-go breakfast, try our Banana Peanut Butter Oatmeal Bars.
- The fresh strawberry flavor shines with much less sugar compared to store-bought bars.
Ingredients and Simple Swaps
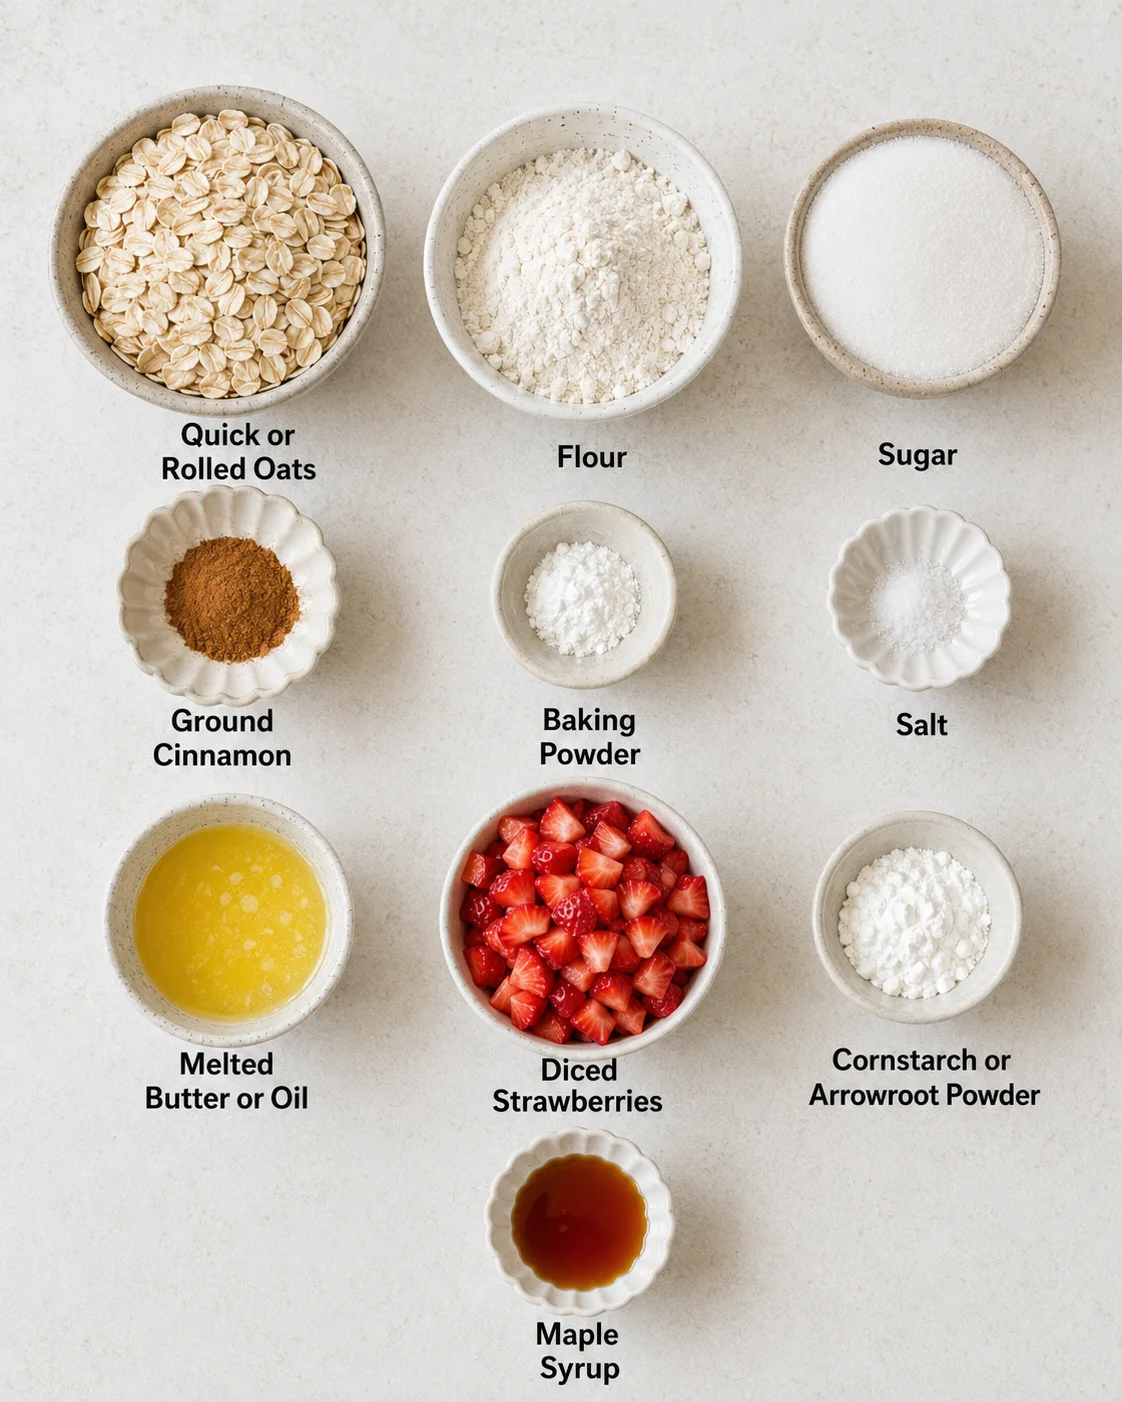
- 1 1/2 cups quick oats or rolled oats (150 g)
- 2/3 cup flour (spelt, all-purpose, or oat flour) (80 g)
- 1/2 cup sugar or xylitol (100 g)
- 1/2 tsp ground cinnamon
- 1/2 tsp baking powder
- 1/4 tsp salt
- 1/2 cup oil or melted butter (100 g)
- 2 1/2 cups diced strawberries (300 g), fresh or thawed if frozen
- 1 1/2 tsp cornstarch or arrowroot powder (7 g)
- 1 tbsp pure maple syrup or your favorite sweetener (15 g)
Step-by-Step Baking Method
- Preheat oven to 350°F (175°C) and grease an 8-inch square pan or line it with parchment paper with an overhang.
- In a large bowl, mix oats, flour, sugar, cinnamon, baking powder, and salt.
- Pour in oil or melted butter and stir until the mixture is evenly moistened.
- Firmly press about two-thirds of the oat mixture into the bottom of the prepared pan to form the crust.
- If using frozen strawberries, thaw completely and pat dry with paper towels.
- Toss diced strawberries with cornstarch (or arrowroot) and maple syrup (or chosen sweetener).
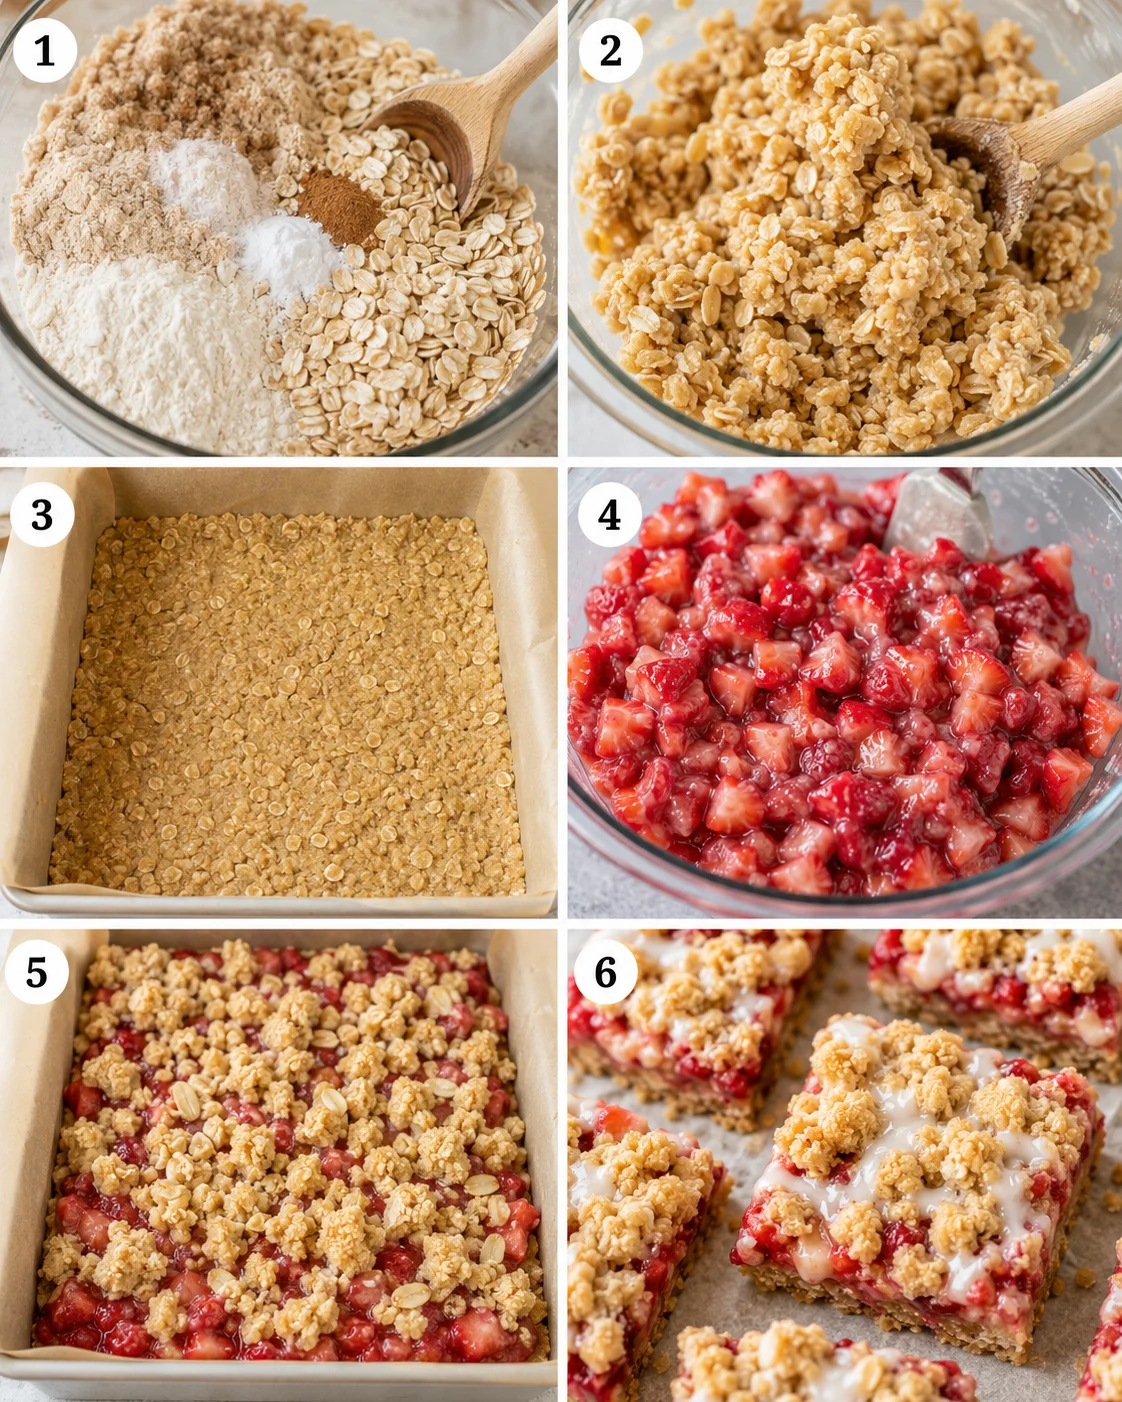
- Spread the strawberry filling evenly over the crust.
- Crumble the remaining oat mixture over the filling and press down firmly to compact the bars.
-
Bake on the middle rack about 45 minutes, until the top is golden and the filling is bubbling around the edges.
- Cool the pan to room temperature.
- Refrigerate the cooled bars for at least 1 hour to help them firm up.
- Cut into 16 squares.
Baking Tips and Tricks
- Stick to quick or rolled oats for the best texture—steel-cut oats won’t soften enough.
- If you’re using frozen strawberries, thaw them fully and blot with paper towels to avoid a runny filling—you’re aiming for a set, jammy center like in Apple Butter Thumbprint Cookies.
- Press the oat mixture firmly into your pan—both on the bottom and as the topping—to keep bars from falling apart after baking.
- Chill the bars before slicing; cutting too soon will make them crumbly.
- Tweak the sweetness in the filling depending on how tart or sweet your berries are—use less maple syrup for very tart berries, or more if they’re super sweet.
- For easy clean slices, line your pan with parchment paper that overhangs the sides so you can lift the whole slab out easily.
Flavor Swaps and Add-Ins
- Jam filling: Swap out the cornstarch, 1 tbsp sweetener, and half the fresh strawberries with 1 cup of strawberry jam or preserves.
- Fat-free/oil-free: Replace the oil with applesauce or mashed banana in equal amounts for softer, more muffin-like bars.
- Fruit swaps: Use blueberries, raspberries, peaches, or mix in 1 cup diced rhubarb with 1 cup of strawberries for tangy strawberry-rhubarb bars. For more seasonal pairing ideas, see Fall Fruit Salad.
- Gluten-free: Use certified gluten-free oats and gluten-free flour such as oat flour or a gluten-free all-purpose blend.
- Add-ins: Stir in a handful of mini chocolate chips or chopped nuts into the oat mixture before pressing for a fun twist.
Storage, Freezing, and Reheating
- Fridge: Store your strawberry oatmeal bars in an airtight container for 4-5 days—they keep beautifully!
- Freezer: Wrap the bars individually or place slices in a freezer-safe container for up to 2-3 months. Thaw them either in the fridge or at room temperature before serving.
- Reheat: Warm a single bar quickly in the microwave (10-20 seconds) or in a 300°F (150°C) oven until just heated through. If you prefer firmer bars, it’s better to chill them rather than reheat.
- Make-ahead: Bake and cool the bars, then refrigerate. Cut just before serving—or keep the whole batch intact and slice as you need. For another make-ahead breakfast that freezes well, try our Chocolate Spinach Muffins.
Common Questions Answered
- Can I use jam instead of fresh berries? Absolutely! Just swap the cornstarch, the tablespoon of sweetener, and half of the fresh strawberries with 1 cup of strawberry preserves.
- How do I make the recipe fat-free or oil-free? Easy! Replace the oil with the same amount of applesauce or mashed banana. Your bars will be softer and more cake-like.
- Can I use frozen strawberries? Yes, just be sure to thaw them completely and blot away extra liquid so the filling doesn’t get soggy.
- Can I double the recipe? Yes, you can! Just double everything and bake in a 9×13-inch pan. The bake time stays roughly the same.
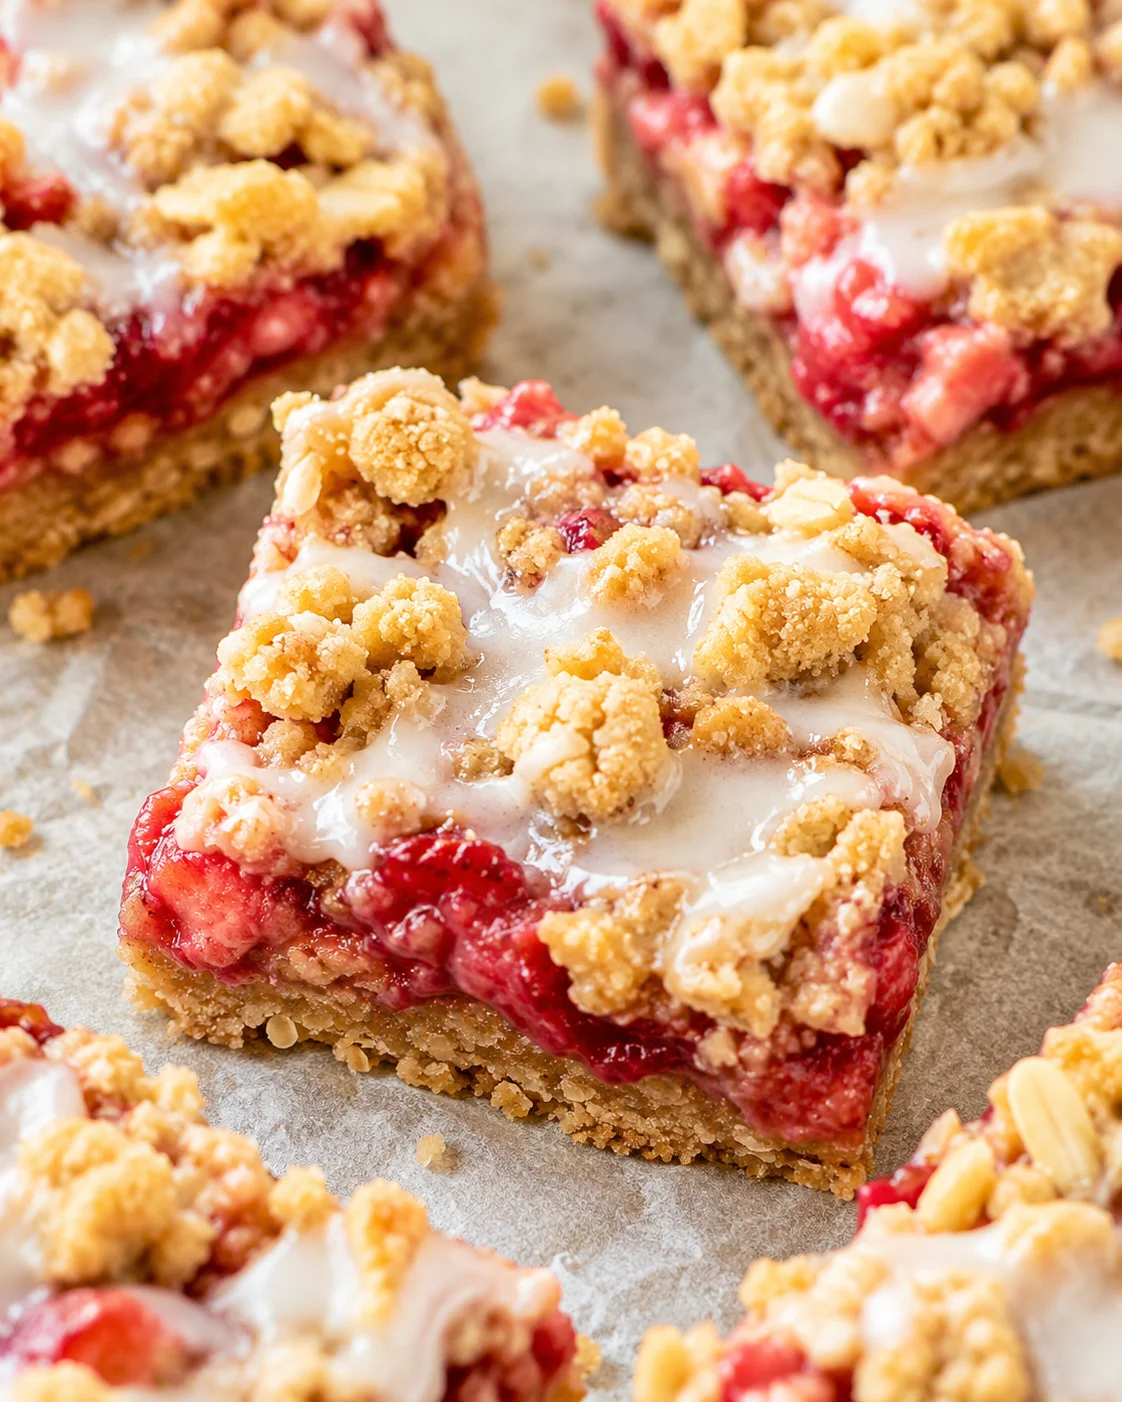
- Are these bars low calorie? When sliced into 16 squares as shown, each bar comes in around 100 calories, making for a guilt-free snack or breakfast.
- Can I add chocolate chips? Definitely! Stir in a handful of mini chocolate chips or your favorite nuts into the oat mixture before pressing it, for an extra special touch.
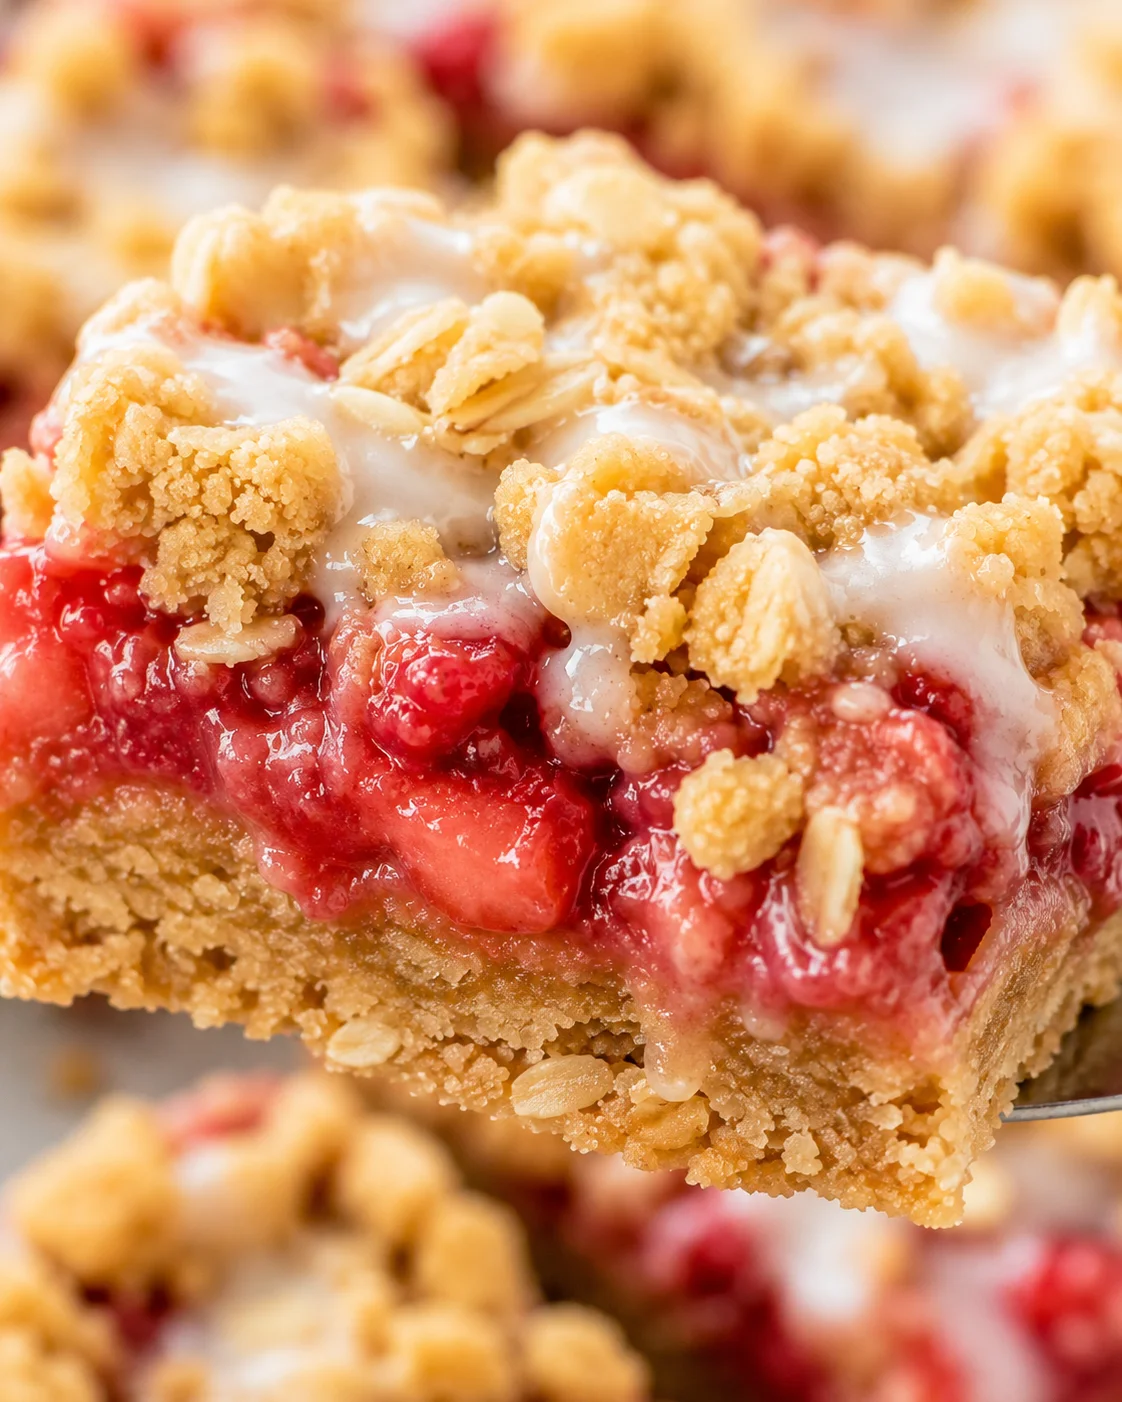
Delicious bars featuring fresh strawberry filling sandwiched between buttery oat crumble layers. Chewy with a lightly crisp top, perfect for breakfast or snacks with easy vegan and gluten-free swaps.
- Prep Time: 15 minutes
- Cook Time: 45 minutes
- Total Time: 1 hour
- Yield: 16 squares 1x
- Category: Snack
Ingredients
- 1 1/2 cups quick oats or rolled oats (150 g)
- 2/3 cup flour (spelt, all-purpose, or oat flour) (80 g)
- 1/2 cup sugar or xylitol (100 g)
- 1/2 tsp ground cinnamon
- 1/2 tsp baking powder
- 1/4 tsp salt
- 1/2 cup oil or melted butter (100 g)
- 2 1/2 cups diced strawberries (300 g), fresh or thawed if frozen
- 1 1/2 tsp cornstarch or arrowroot powder (7 g)
- 1 tbsp pure maple syrup or your favorite sweetener (15 g)
Instructions
- Preheat oven to 350°F (175°C) and grease an 8-inch square pan or line it with parchment paper with overhang.
- In a large bowl, mix oats, flour, sugar, cinnamon, baking powder, and salt.
- Pour in oil or melted butter and stir until mixture is evenly moistened.
- Firmly press about two-thirds of the oat mixture into the bottom of the prepared pan to form the crust.
- If using frozen strawberries, thaw completely and pat dry.
- Toss diced strawberries with cornstarch (or arrowroot) and maple syrup (or chosen sweetener).
- Spread strawberry filling evenly over the crust.
- Crumble remaining oat mixture over filling and press firmly to compact bars.
- Bake about 45 minutes until top is golden and filling bubbles around edges.
- Cool pan to room temperature.
- Refrigerate cooled bars for at least 1 hour to firm up.
- Cut into 16 squares.
Notes
Use quick or rolled oats for best texture; avoid steel-cut oats., Thaw and blot frozen strawberries fully to prevent runny filling., Press oat mixture firmly to prevent bars from crumbling., Chill bars before slicing for clean cuts., Adjust sweetener in filling depending on berry tartness., Line pan with parchment paper for easy removal and slicing., Fat-free/oil-free option: replace oil with applesauce or mashed banana (same amount)., Jam filling option: substitute cornstarch, sweetener, and half strawberries with 1 cup strawberry jam., Fruit swaps: blueberries, raspberries, peaches, or strawberry-rhubarb combo possible., Add mini chocolate chips or nuts to oat mixture for variation., Bars keep well airtight in fridge 4-5 days, freeze up to 2-3 months., Reheat briefly in microwave or oven; preferred to chill for firmer bars.
Nutrition
- Serving Size: 1 bar
- Calories: ~100 calories per bar
- Fat: Approximately 4g per bar
- Carbohydrates: Approximately 18g per bar
- Protein: Approximately 2g per bar